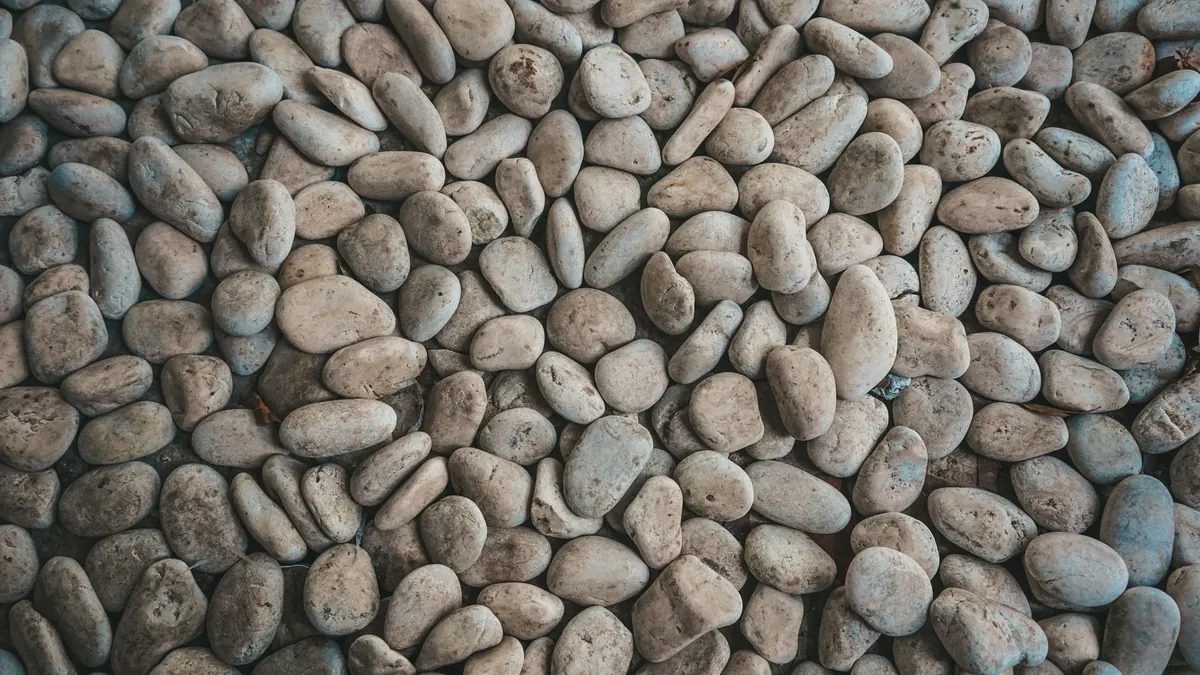
Gravel looks effortless when it is new. A few wet winters later, the same gravel is scattered across the lawn, the mower is spitting stones at the shed, and a border that was crisp in spring now has a ragged grey fringe. Pebbles do not stay put on their own. They migrate — downhill, downhill-with-a-nudge, and sideways underfoot, in the paws of foxes and cats, and on the tyres of wheelbarrows.
The good news is that stopping them is a design problem, not a maintenance problem. Get the edge right, set the levels correctly, and the vast majority of stones will stay exactly where you tipped them.
Why pebbles travel in the first place
Before choosing a solution, it helps to know what is pushing stones out of place. In most gardens it is one or more of these:
- No physical barrier. Gravel sitting directly against turf has nothing to stop it rolling into the grass, and grass has nothing to stop it creeping into the gravel.
- Wrong levels. If the gravel surface sits above the lawn, gravity does the rest. Every heavy rain shifts another handful onto the grass.
- A slope. Even a gentle fall of 1 in 40 will move rounded stones downhill over a season, particularly if water runs that way.
- Foot traffic. Walking across gravel flicks stones sideways. So does dragging a hose, kicking a football about, or letting a dog charge through on a wet day.
- Rounded, uniform stones. Pea shingle and smooth pea gravel roll almost like ball bearings. Angular gravel interlocks and moves far less.
Fix the cause and the symptom disappears. A barrier alone will not help if the gravel is sitting proud of the lawn, and a level surface will not help if there is nothing holding the edge.
Edging: the single most effective fix
A rigid edge, set properly, is the workhorse of any gravel scheme. It should be deep enough to sit below the soil surface, wide enough to be stable, and set so the top sits flush or slightly below the finished gravel level — not above it, where it becomes a trip hazard and a mower blade's worst enemy.
Choosing a material
Steel edging is the neatest option for curves and the most durable where a mower runs along the edge; it is thin, so almost none of it shows. Rigid plastic edging is cheaper and easier to cut, but it can bow in hot weather and crack in frost if it is not supported properly. Timber is warm and inexpensive, though it rots unless you use a rot-resistant species or a liner behind it. Brick, set on a concrete bed, is the traditional choice and looks superb, but it is a job for a competent bricklayer rather than a Saturday afternoon. Concrete kerbs or a poured mortar haunch suit long, straight runs.
Fitting an edge that actually works
- Cut a trench along the boundary, roughly 100–150mm deep and wide enough to take the edging plus its backing.
- Firm the base. A compacted layer of sand or grit stops the edging sinking unevenly.
- Set the edging so its top sits 10–20mm below the finished gravel surface, then check the line with a string and a spirit level as you go.
- Backfill both sides. On the lawn side, soil and turf need to come right up to the edge; on the gravel side, a strip of weed membrane tucked under the edging prevents soil mixing into the stones.
- Haunch the outside with concrete or firmly compacted spoil, especially on curves, where the edging wants to spring outwards.
One useful detail: leave the gravel about 10mm below the top of the edging rather than heaped over it. That small recess catches stray stones and stops them rolling on.
Recessed borders: keeping gravel out of the beds
Where gravel meets planting, the same principle applies but the aim changes. You want the soil in the border to sit slightly higher than the gravel, so that rain washes soil inward and stones cannot tumble out among the plants. A shallow recess — gravel set 30–50mm below the surrounding soil level — reads beautifully once plants have grown over it, and it makes edging with a half-moon spade far quicker.
Run a steel or plastic edge along the line, set it proud of the gravel but below the top of the border soil, and let the planting do the softening. Where you have shrubs that sucker or spread, keep a clear 200mm strip of gravel between the edging and the first plant, so you can see what is happening and lift unwanted shoots before they take hold.
Stabilising the gravel itself
For driveways, paths and areas where people walk constantly, edging is only half the story. Stabilisation keeps the surface from rutting, and a firm, flat surface sheds far fewer stones.
- Lay a proper sub-base. Around 75–100mm of compacted type 1 or MOT sub-base, then a 20–30mm bedding layer, then your gravel at 40–50mm. A surface that does not move does not push stones sideways.
- Use angular gravel. Crushed or angular stone interlocks underfoot. Rounded pebbles never will.
- Weed membrane. A woven, permeable membrane under the gravel stops soil working up and stops stones sinking, which keeps the surface even for longer.
- Honeycomb grids. Plastic cellular grids, filled with gravel, hold the stones in a rigid matrix. Ideal on slopes or where the gravel must stay put under cars.
- Resin-bound and resin-bonded surfaces. More of a paving choice than a gravel one, but excellent where migration is intolerable — a path by the back door, for instance. They are best installed by an experienced contractor.
- A gravel tray or mat at the door. Unglamorous, but it catches the stones that would otherwise end up on the kitchen floor or in the lawn.
The small habits that make a big difference
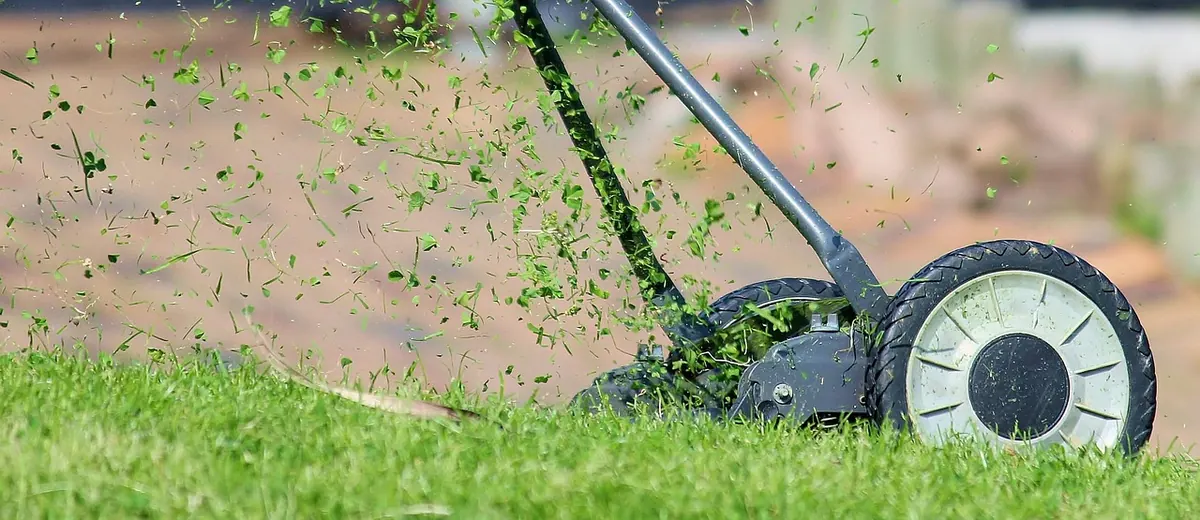
Design does most of the work, but a couple of habits keep things tidy. Blow or sweep gravel back into place every few weeks rather than waiting until spring, when the job takes an afternoon. Mow with the deck raised for the first pass along a gravel edge, or run the mower in the opposite direction to throw stones back onto the gravel rather than into it. If you rake gravel, use a plastic or rubber-headed rake — a steel one drags stones over the edging and into the lawn. And when you top up, top up with the same size and shape of stone; mixing a handful of pea shingle into a bed of 20mm angular gravel creates weak spots where stones start to roll.
A checklist before you order stone
Sort the details before the delivery lorry arrives and you will save yourself a weekend of raking. Decide the finished gravel level first, then work back: edging depth, sub-base, membrane, and the soil level in any adjacent border. Choose angular stone for anything walked on, set the gravel slightly recessed, and make sure every edge is held by something solid. Then order about 10 per cent extra for topping up.
On a slope, a narrow strip or a change of material at the bottom of the run will do more good than any amount of edging. And if the area takes heavy traffic, vehicles, or drainage from a larger surface, it is worth asking a local landscaper to look at the levels before you commit — it is far cheaper to correct a fall on paper than to dig out a laid drive.
Do this job once, properly, and the gravel stays where you put it. The lawn stays green, the borders stay crisp, and the only stones you find on the grass are the ones the blackbird left there.
Photo: Counselling / Pixabay