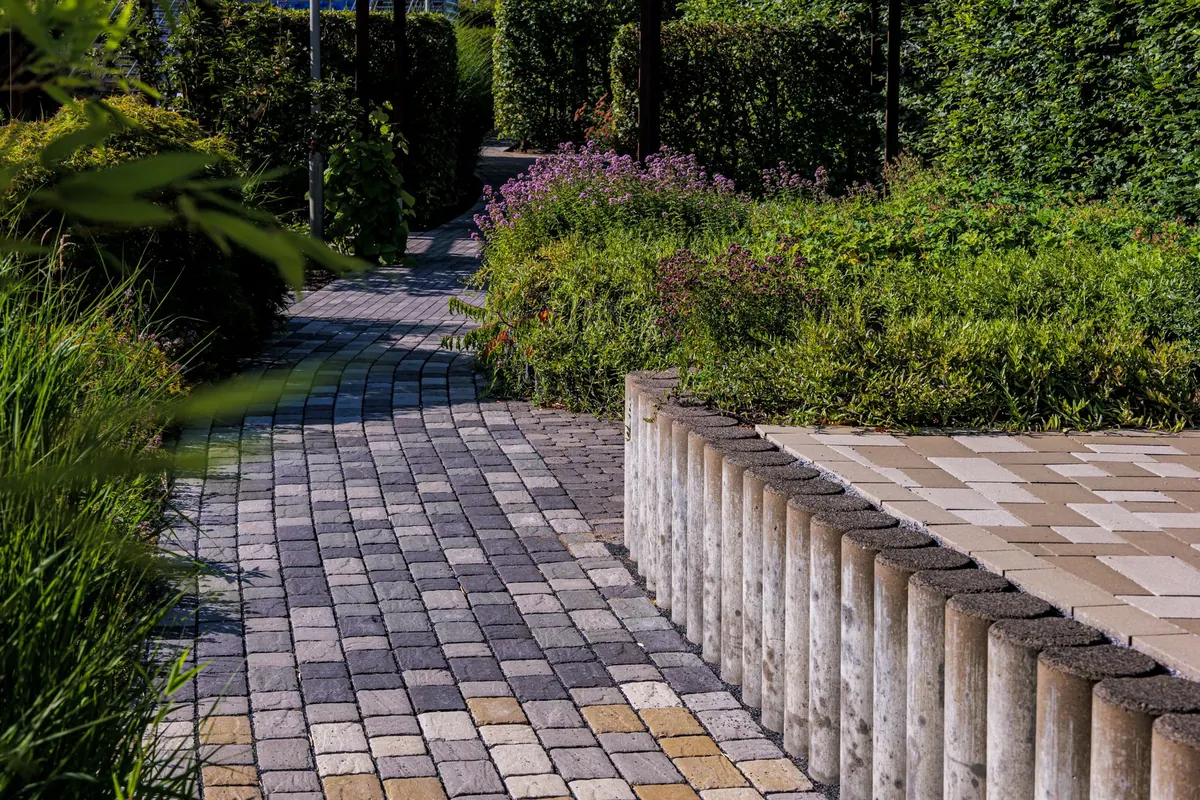
A straight path is easy to set out and easy to edge. A curve is the one that makes a garden feel designed: it slows your walk, hides a corner, and lets a border spill over the line. Pebbles suit curves particularly well, because loose stone can follow a radius that paving slabs cannot. The trick is to support them properly — a curve held by flexible edging, sitting on a compacted sub-base, with a textile layer beneath the stones. Get those three things right and the path will still look crisp after a decade of British weather.
Marking Out a Curve That Looks Right
Freehand curves drawn with a spade tend to look nervous. Lay a length of rope or an old hosepipe on the ground instead and shuffle it about until the line pleases you. Stand back and look from an upstairs window, from the kitchen door, and from the far end of the garden, because a curve that reads well from one spot can look lumpy from another.
Aim for a radius of at least 1.5 metres. Tighter bends feel fussy even when they are built accurately. Keep the width consistent: 900mm is comfortable for one person, and 1.2 metres lets two people pass, or a wheelbarrow travel without clipping the edging. Avoid a short S-bend, which will look like a mistake rather than a decision.
Once you are happy, mark the line with a trickle of sand or a line of marking paint. Cut the turf with a half-moon edger, lift it in spadefuls, then excavate to about 150mm: roughly 100mm for the sub-base, 40–50mm for the pebbles, plus the depth of the edging. Before you dig, check for buried services. Cables, water pipes and irrigation lines are easy to forget. A cable detector and a look at any plans you have will cover most gardens; if you are unsure about anything underground, ask a qualified contractor before you start.
Installing Flexible Edging That Holds Its Line
Flexible edging is sold in rolls or short strips, usually 50mm to 100mm deep, in recycled plastic, rubber or bendable metal. Plastic is the easiest to bend by hand and will not corrode. A stiffer aluminium or steel strip gives a sharper line but needs patience on tight radii.
- Unroll it and leave it flat in the sun for an hour before bending. Warm plastic curves far more willingly than cold.
- Cut a shallow trench along your marked line, about the depth of the edging plus 20mm.
- Bed the edging on 20–30mm of sharp sand, or a weak concrete mix where the path takes heavy traffic or sits on a slope.
- Fix it with 300mm steel pins every 300–400mm, driven at a slight angle, alternating sides on a curve.
- Join lengths with the connector supplied, overlapping by one fixing hole so the joint cannot open.
Hold an offcut of timber over the top of the edging when you hammer the pins home, so the club hammer does not bruise the plastic. Finish with the top of the edging 10–15mm above the eventual pebble surface: enough to contain the stones without looking like a kerb. Where a wheelbarrow will cross regularly, set it flush instead, and accept that you will sweep a few pebbles back into place.
Building a Sub-base That Stops the Stones Sinking
Pebbles do not compact. Put them straight onto soil and they will work their way down, leaving hollows and exposing the ground beneath. The answer is a firm sub-base with a separation layer on top.
- Firm the excavated base with a plate compactor or a heavy hand tamper.
- Lay a weed-suppressing membrane over the bare soil, turning it up the sides of the trench.
- Spread 75–100mm of MOT Type 1 or crushed concrete in two layers, watering each lightly and compacting as you go.
- Check the level and the fall with a straight edge and a spirit level. A crossfall of about 1:60, roughly 15mm per metre, carries water away from the house and stops puddles forming at the edges.
- Lay a second piece of geotextile over the compacted sub-base. This is the layer that stops pebbles disappearing into the stone below.
The sub-base is your template for everything that follows, so give it the time it deserves. A wobbly base cannot be rescued by careful raking later.
Filling with Pebbles Neatly
Choose rounded pebbles of 10–20mm for a path you walk on. They sit underfoot without rolling, and they are large enough not to travel indoors on your shoes. Bigger 20–40mm stone looks bolder but is less comfortable; pea gravel of 8–10mm is best kept for borders and planting beds.
Spread the pebbles to a settled depth of about 40mm, which works out at roughly 50–60kg per square metre. Start at the far end of the path and work back towards the exit, so you are not walking over fresh stone. Tip them onto a board laid on the sub-base, then spread with a shovel and level with a rake, working towards yourself rather than pushing stone away.
Keep the finish 10mm below the top of the edging and check the depth with a scrap of timber laid across the path. Tidy the line with a stiff brush rather than your hands, which only pull stones out of place. A gentle spray with a hose settles the dust and helps the pebbles nest together; a final pass with a broom evens out the surface.
Where the Path Meets the Rest of the Garden
Transitions matter as much as the main run. Where a pebble path meets a lawn, set a single row of brick or stone flush with the grass so the mower has something to run along and the pebbles have something to stop against. At a doorway, drop the pebbles a few millimetres below the threshold and keep a mat inside; well-chosen stone still finds its way indoors.
Leave a 300mm strip of bare soil or low planting between the edging and a border, otherwise perennials will flop into the stone and you will spend every summer picking them out. Small alpines and thymes tucked against the edging soften the line without invading it.
Keeping It Sharp Year After Year
A pebble path needs very little, but it does need topping up. Expect to add 10–15mm of fresh stone every year or two where the path is walked most, since pebbles migrate and settle. Rake rather than sweep deeply, and pull weeds while they are small. A flame weeder works quickly on gravel, though keep it well away from plastic edging.
After winter, walk the line with a keen eye. Frost can lift a pin or push a section of edging out of true. Tap it back, drive a fresh pin, and the path looks as though it was laid last month. That is the quiet reward for building it properly in the first place.
Photo: Sergej ***** / Pexels